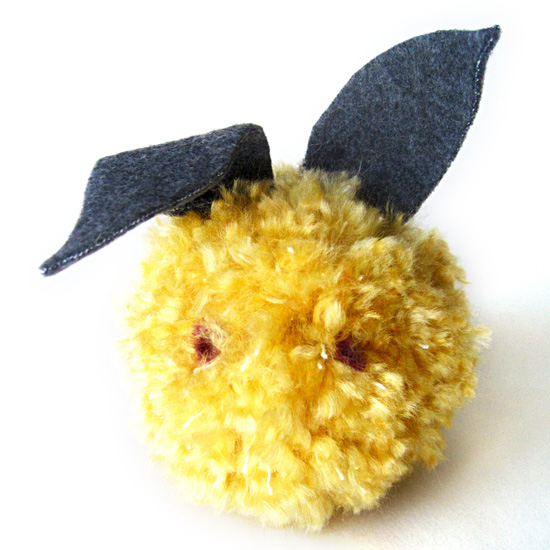
I’m nurturing a love affair with pom poms. They’re just so light and fluffy and easy. Plus, there’s something about my perfectionist tendencies that thrives on my ability to make a “perfect” sphere out of yarn.
I came up with this silly chubster bunny as an excuse really – I wanted to make something for Birdie that was easy for me but high on impact. I even pretended that she helped. But really, my lil’ imp sat and colored while I worked. I plan to sneak his handmade Easter goodness into the Easter basket even though she already knows him. I hope you enjoy him as much as I do!
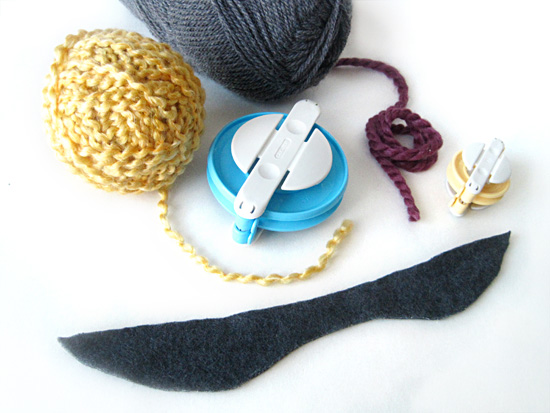
things you’ll need:
- yarn to make 1 large pom pom
- yarn to make 1 small pom pom (different or same color)
- small bit of yarn to make the bunny eyes
- fleece scrap for your bunny ears
- tapestry needle
- your own favorite method for making pom poms!
how to make your chubster pom pom bunny
- Cut out the fleece ears – for my 3.5” pom pom body, I cut ears that are 10” long. Follow the shape shown in the image above – the narrowed center will wrap and tie around the center of your pom pom.
- Make your pom poms. There’s several ways to go about it. You can use the wind-yarn-around-your-fingers technique. Or the cardboard-donut-pompom method. I caved and bought these handy Clover Pom Pom Makers and love them.
- After you’ve tied yarn or dental floss (the waxed thread holds the pom pom tighter!) around the center of the pom, tie your ears around the center of the larger pom.
- Keep the center ties on the smaller pom extra long.
- Fluff and trim those pom poms – I prefer them round, but you can make the large pom pom (the body) more oval if you’d like.
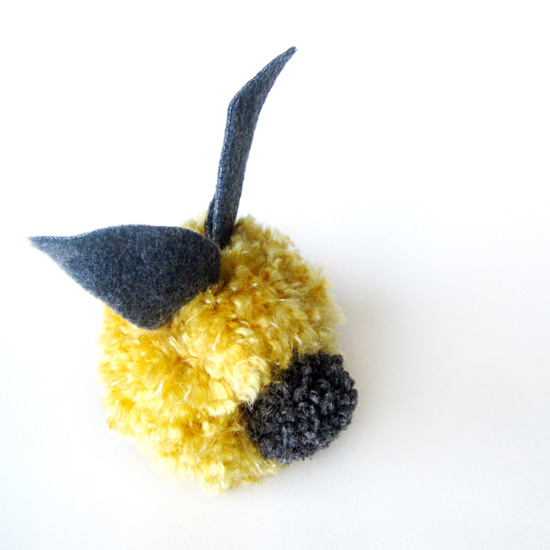
- Thread the ties from the small pom onto a tapestry needle, sew it through the center knotted area of the larger pom and tie off.
- Thread the eye color yarn onto your tapestry needle. Do a loop-dee-loop around the center of the body pom pom. Pull and push the yarn ends around until the eyes are where you like them. Then trim both ends of your yarn to blend in with the body.
Hippityy Hoppity Spring everyone! If you’re looking for more DIY goodies – make sure to take a look at the free Baabsie and Teensie Spring Puppet Printables!











{ 0 comments… add one now }
{ 4 trackbacks }