We have cousins visiting from London! My three kids are barely able to sleep at night they are so excited to wake up and play all day. One of the many family events we need to fit in to this visit is a 70th birthday party for their grandmother. I wanted to make something collaborative for her. Something that would not only be fun and exciting to make, but that would fit into their play schedule with barely an interruption. Enter… suminagashi.
Suminagashi means “floating ink” in Japanese. This form of marbleizing is very easy for kids to do which is why it was such a success for us. All you need is a bucket of water, a kit and some paper. It’s not really even that messy.
Supplies:
For marbleizing:
Suminagashi kit, rice paper or plain white paper, a container of water, paintbrushes, palette or plate, paper towel, newspaper
For quilt:
Scotch tape, washi tape, white pen
How to:
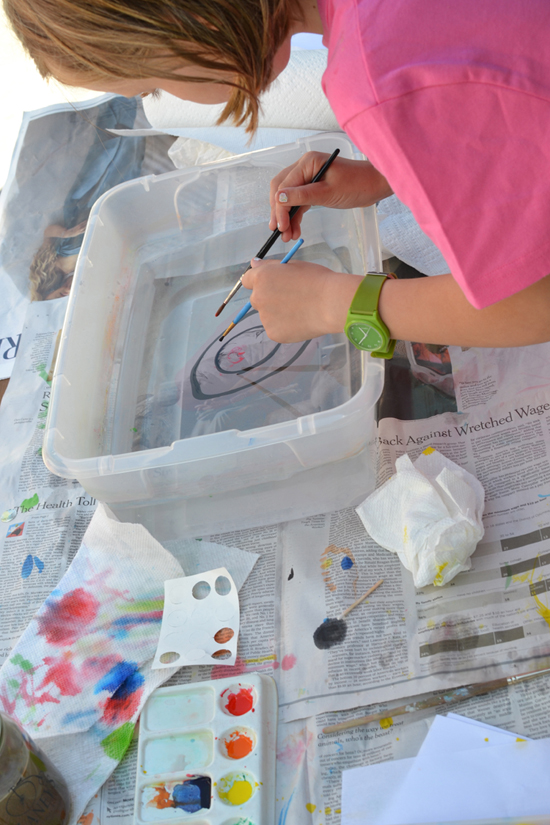
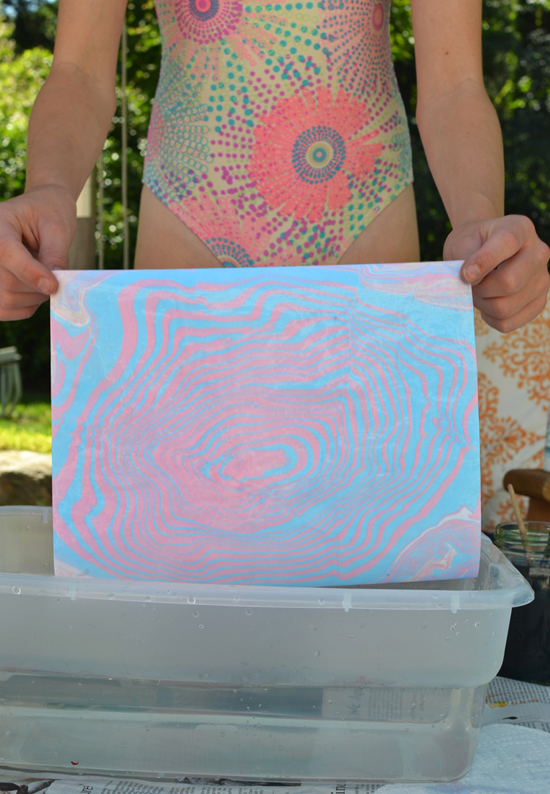
After watching this video, I learned the basics of marbleizing. We used the circle technique with the most success. Also, the rice paper is very delicate and would tear when the kids picked it up, so we ended up using regular white printer paper, which worked like a charm. But I do love the way the rice paper dries so if you want to try it, you should!
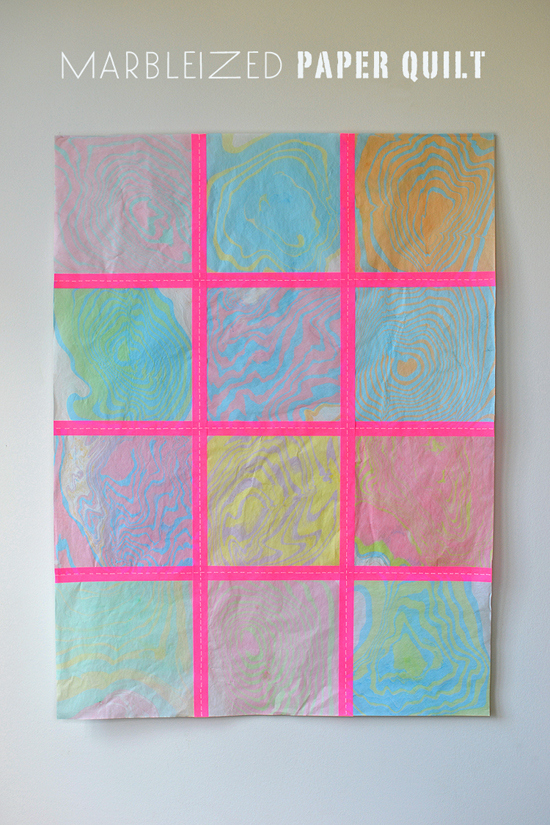
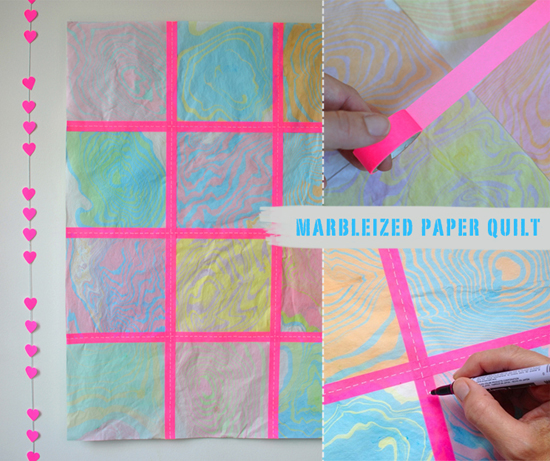
After the papers were dry, I cut them with a paper cutter into 4” squares. I layed them out into a pattern, then turned the squares over to tape them lightly on the back. This made it easier to run the washi tape up and down the seams. I used two layers of neon pink washi tape. For the final touch, I took a white pen and drew some “seams”.
Voila! This project was actually quite simple. It took us about two hours (during play breaks) to marbleize 40+ sheets. We dried them in the sun, which took only minutes. The cutting and taping took less than an hour. We framed the final piece, which was exactly 18 x 24 and fit perfectly into a standard frame. Their grandmother loved it! The tropical/pastel palette was just her style.
I hope you try this very fun project. The finished papers have endless possibilities!
xo Bar


{ 2 comments… read them below or add one }
This is SOOO awesome! I love the washi tape affect too with the white lines for stitching. So clever!
awww…thanks meri! so fun to get a comment for this, i loved it too when we made it last summer. the white stitching is something i end up doing on everything…love that quilt look, of course. xo
{ 1 trackback }