There’s a new Design Star challenge in town, and I intend to … well, to be a part of it! I’m not sure I’ll win, but I’m having a blast playing around as part of the Cricut Design Space™ Star Competition. Contestants have been grouped into teams, and we design new concepts every month to be judged and voted on. This month my team chose to design around the theme Endless Summer.
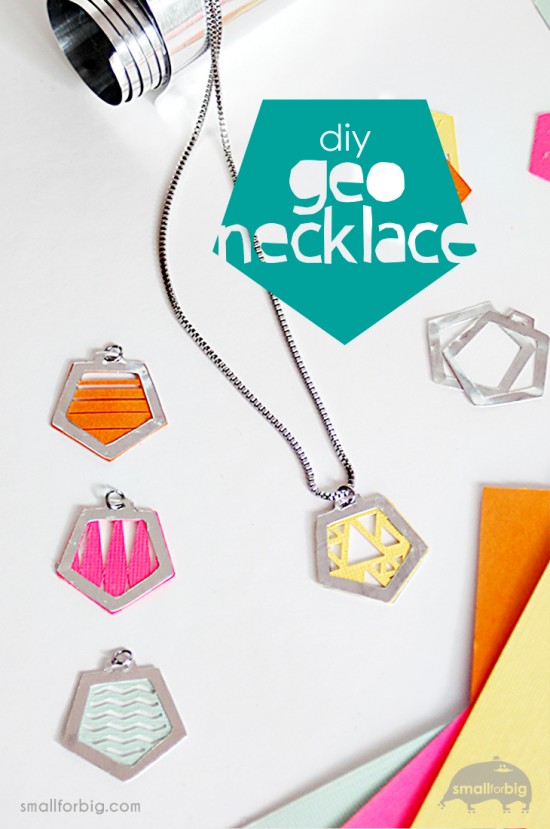
Apparently it’s the end of summer. I refuse to believe it, and I will spend the next 10 days savoring every extra-warm, possibly sweaty, sunshiney moment. I’m going for an Endless Summer in my head. Which dovetails perfectly with this project I’m working on. These geo necklaces have their own endless summer vibe with their blue waves, hot pink heat, orange sunsets, and golden sunshine designs.
If you have a Cricut Explore™, this DIY is for you. In fact, I’m a little obsessed with my new machine. It cuts aluminum!!! And fabric, wood, leather, felt. Well, I haven’t tried them all out yet, but believe me, I will. OH will I. (check out the Cricut Explore Cut List for a full list of materials!) For now, I’m trying aluminum with some card stock centers. It’s the perfect chance to showcase a favorite paper or favorite color. 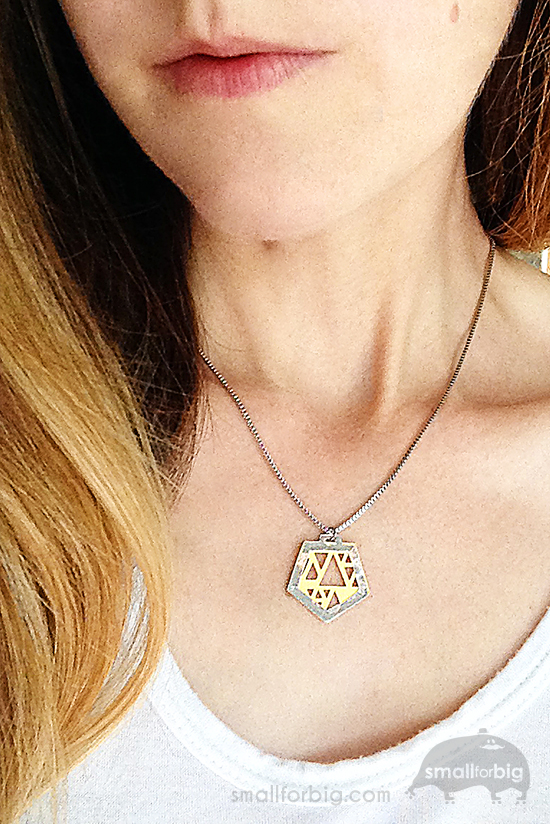 What you’ll need:
- Aluminum Roll – .005
- Card Stock in Yellow, Orange, Pink, and Blue (or the colors of your choice!)
- Aleene’s Glue
- Jump rings
- 18″ Silver necklace
- Cricut Explore™
- Deep Cut Blade
- Strong Grip Mat
To make your own, you can buy the custom graphics svg file for $1.00:
Once you’ve cut your aluminum pieces (one front, one back) and your card stock (choose from the 4 styles provided), then glue them together. I used Aleene’s glue dotted the 5 corners between each layer. Then add your jump ring, thread onto your necklace chain, and wear it everywhere! 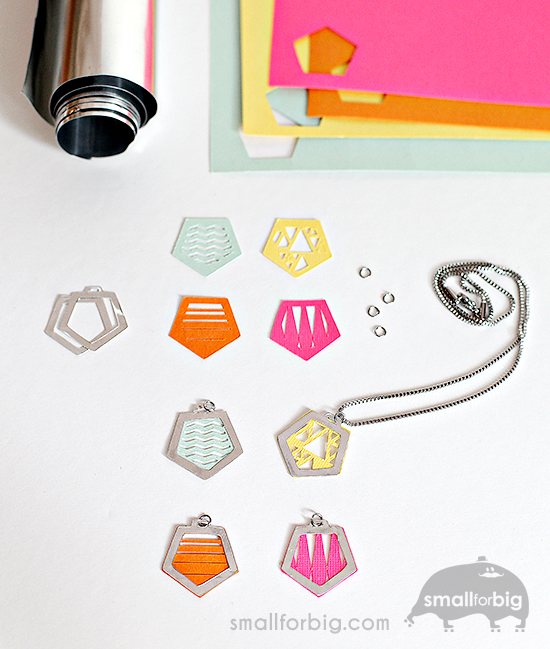 This post is in partnership with Cricut. I received product as part of the Cricut Design Space™ Star Competition. All opinions, as always, are my own.


{ 5 comments… read them below or add one }
I love this, Mari! Such a great look and creative idea.
Thanks Anneliese – can’t wait to see yours!
Just love these! Totally on trend with all the jewelry I see these days!
Woohoo! That’s so good to hear, thanks. And your earrings project is full of spunk – I wish I had my ears pierced!
Do you have any video of that? I’d like to find out
more details.
{ 3 trackbacks }