I love Fall, but sometimes fall decorations leave me a little irritated. I’m not a big fan of fake leaves and cartoonish turkeys. But I think I’ve come up with a solution this year!
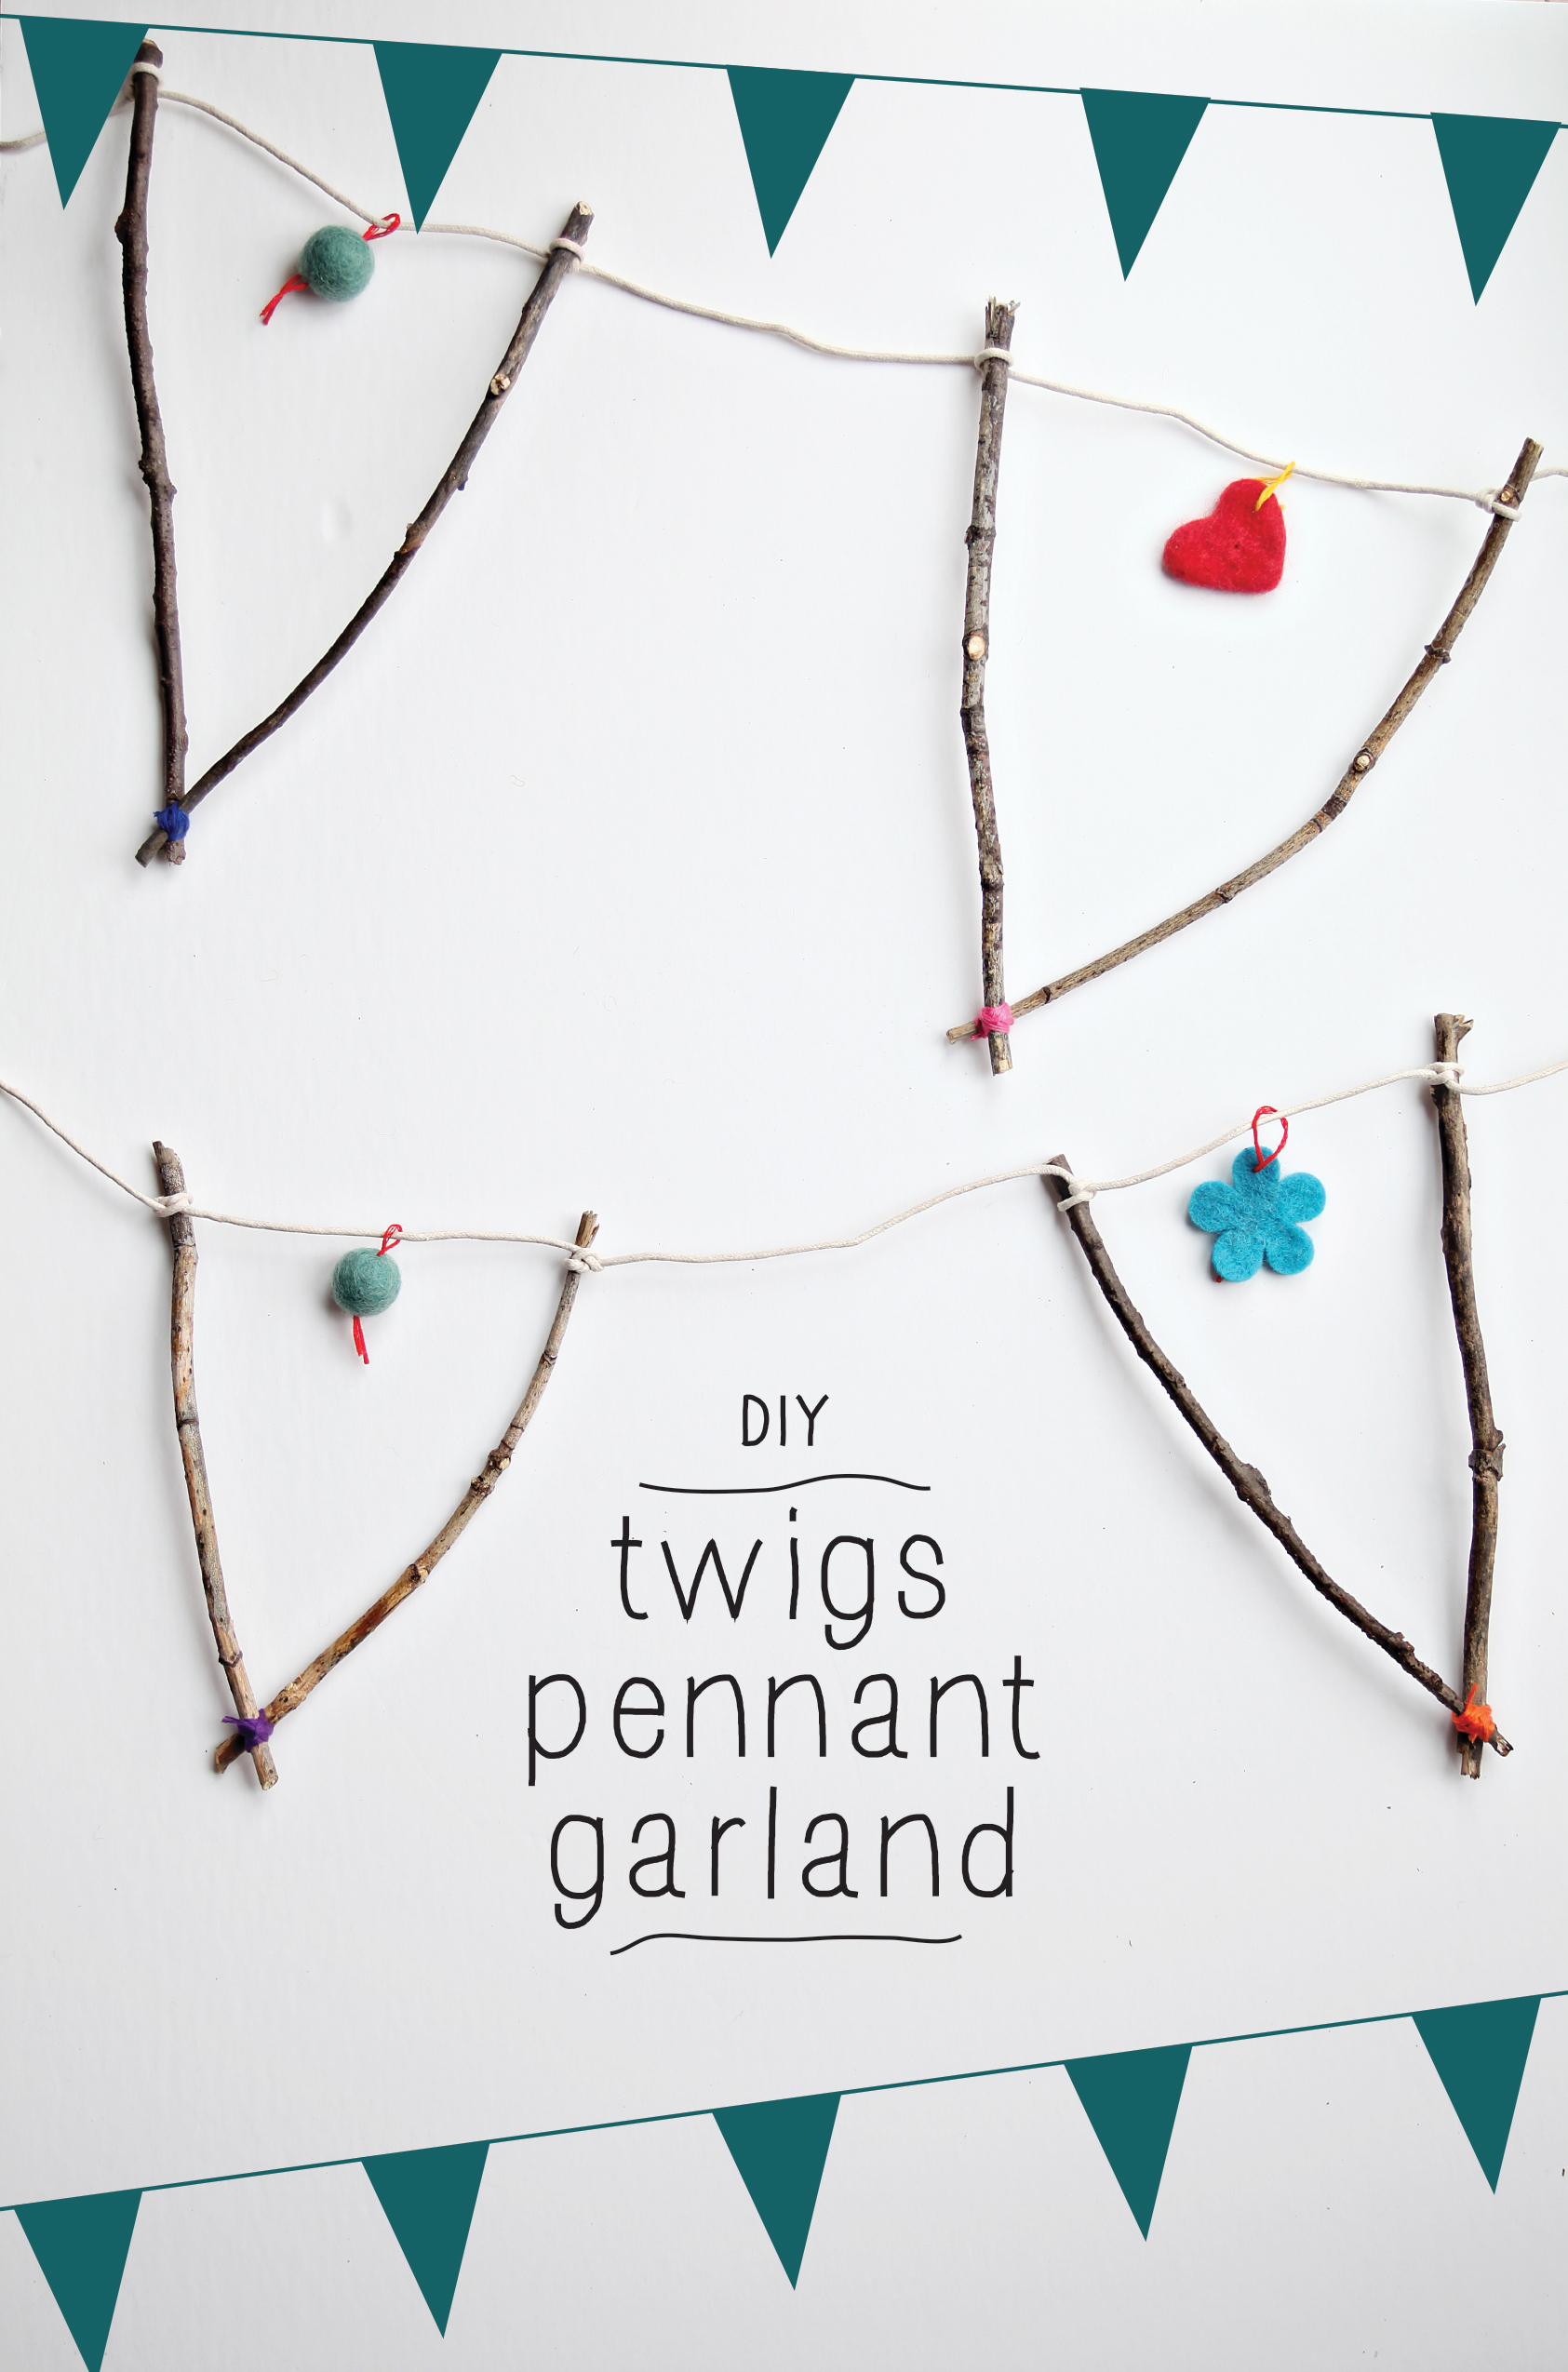
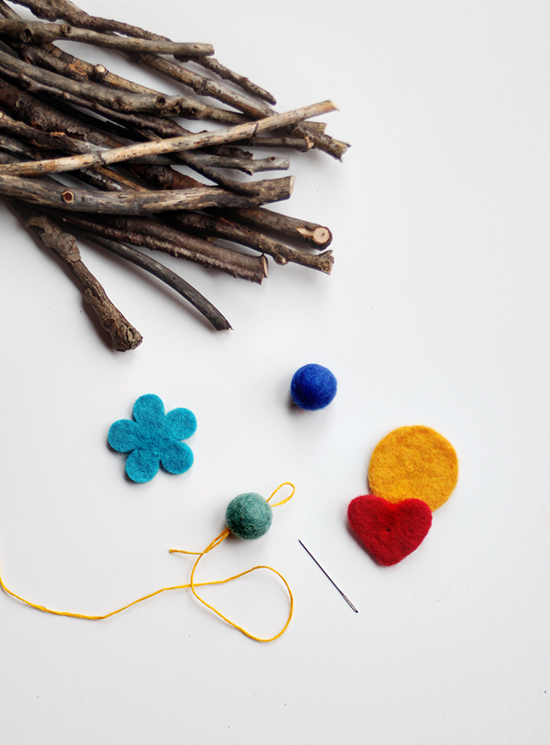
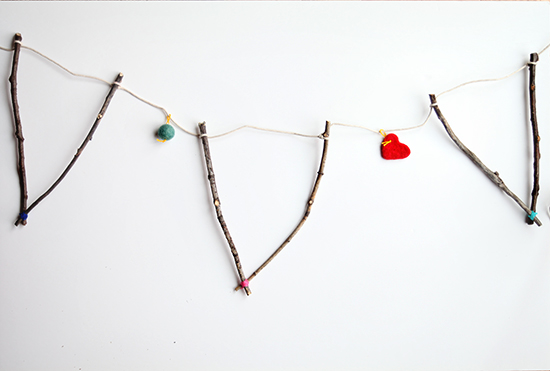
I wanted to add some nature around the house – because a big part of Fall’s appeal is all of the beautiful natural changes that are occurring. In our yard, that means not only fallen leaves, but fallen sticks! So that’s what I used. I love the contrast of the natural sticks with the brightly colored floss and wool beads, don’t you? Artterro’s Wool Felt Jewelry Kit has enough beads and embroidery floss to assemble a garland like this one and still have lots of beads and jewelry findings left to make more jewelry as well.
What you’ll need:
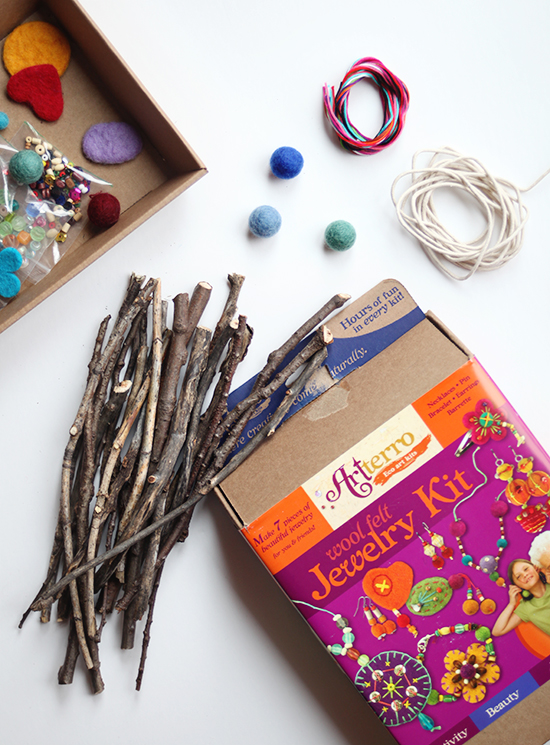
- Artterro’s Wool Felt Jewelry Kit
- Cotton cord or natural twine.
- Sticks – cut to about 8″ long
- Pruning shears
- Needle and extra thread or embroidery floss.
What’ you’ll do:
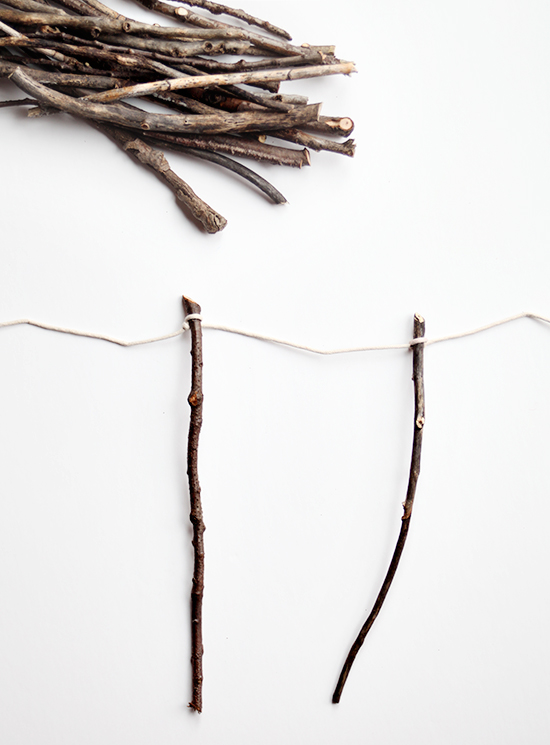
- Gather your sticks, and cut them all to about 8″ in length using a pruning shears. Slight curves in the sticks work out just fine – they actually help define the pennant shape.
- Decide how long your garland will be. I made mine about 10 feet long.
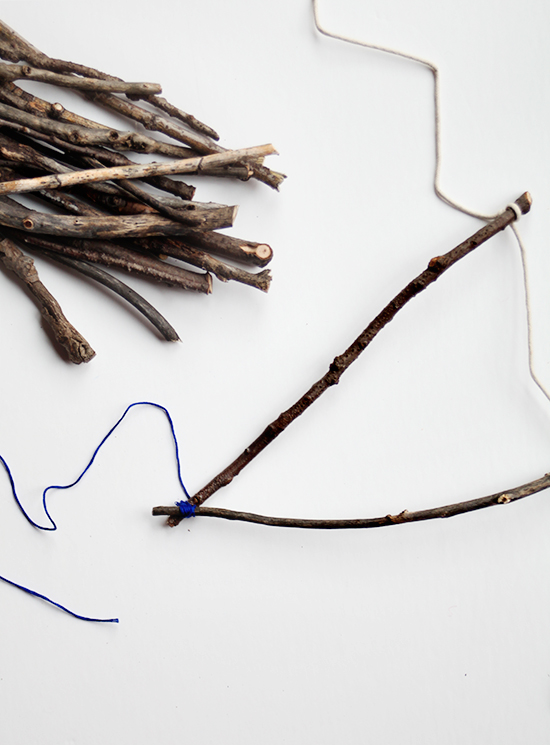
- Tie one end of the cord around your first stick with a double knot. Then measure out about 5″ and tie the cord around the second knot.
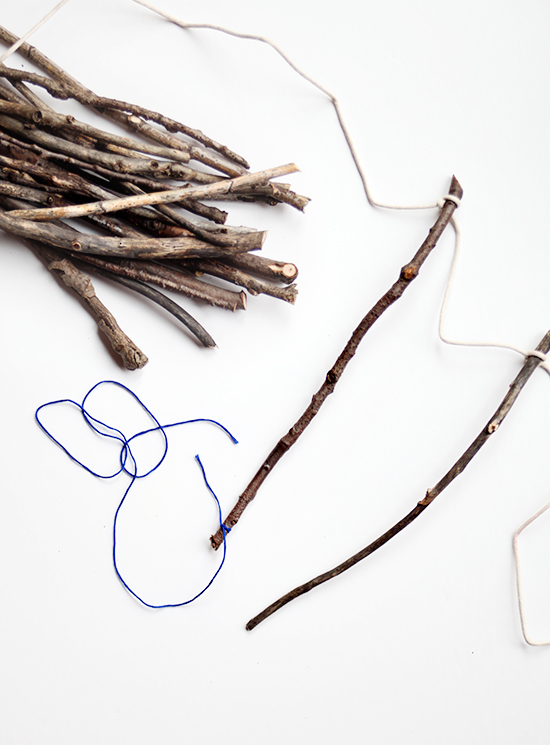
- Now choose a length of embroidery floss and tie one end in a double knot around the bottom of one stick.
- Overlap the sticks and wrap the floss around them until they are secure. I wrapped both horizontally and vertically to make a tighter fit.
- Tie off the floss and trim the ends.
- Move on to the next pair of sticks, tying the cord around each one first, then making the bottom point with the embroidery floss.
- Using a needle (there’s one in the kit!), thread floss through each wool bead and loop it around the cord on your garland. Knot the opposite ends to keep the beads secure.
- Enjoy your new Twig Pennant Garland!
A big thanks goes to Artterro for providing the craft kit and the freedom to explore its first-rate materials. Thanks Artterro!


{ 2 comments… read them below or add one }
this is such a cute idea! love it!
Yay Jane, thanks so much!!
{ 3 trackbacks }