make it: Egyptian Mummy & Sarcophagus with Cricut
Welcome to Small for Big! This blog is the other half of Smallful.
Small for Big is full of inspiration, playful design finds, and DIY projects. Read on for instructions to make your Cricut Explore project…
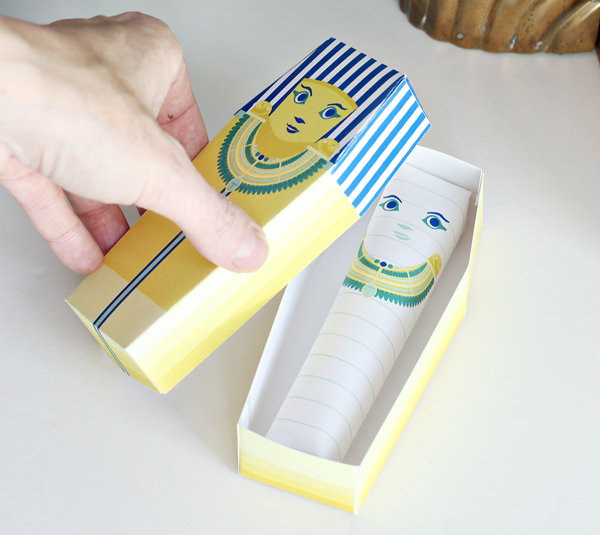
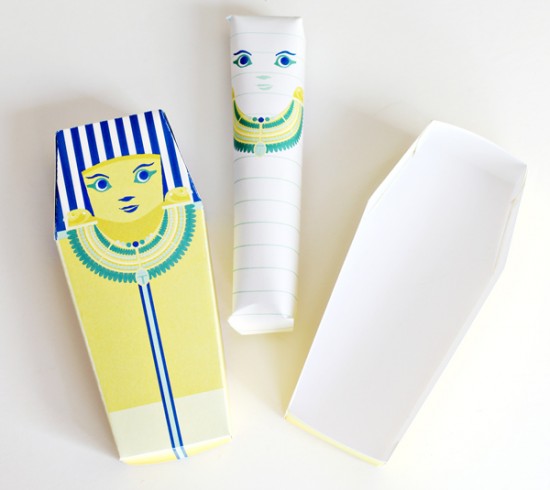
Egyptian Mummies love their sarcophagus, and this 3D Mummy & Sarcophagus set includes both to keep everyone happy. It’s anything but scary, so this mummy is ready to play and tell lots of Egyptian stories. You can use the Sarcophagus box on its own as a great party favor box for your Egyptian birthday parties too!
This set includes the Mummy and Sarcophagus. There are only 3 pieces to print and cut, with some folding and gluing/taping to get them ready for playtime and partytime.
This project was designed for the Cricut Explore. But you can make it without the machine too – scroll to the bottom of the post to see how to make this printable without a Cricut machine (and with access to your handy dandy scissors!).
Materials:
- Cricut Explore® machine
- Cricut Design Space™ software
- Cricut® 12” x 12” StandardGrip mat
- Cricut Explore® Scoring Stylus (optional, but useful)
- White cardstock
- Glue stick or double-sided tape

Prep and Cut:
- Using the Print Then Cut option in your Cricut Design Space™ software, print the pieces onto 8.5” x 11” cardstock.
- Follow the steps in Cricut Design Space™ software to cut out the pieces.
Assemble:
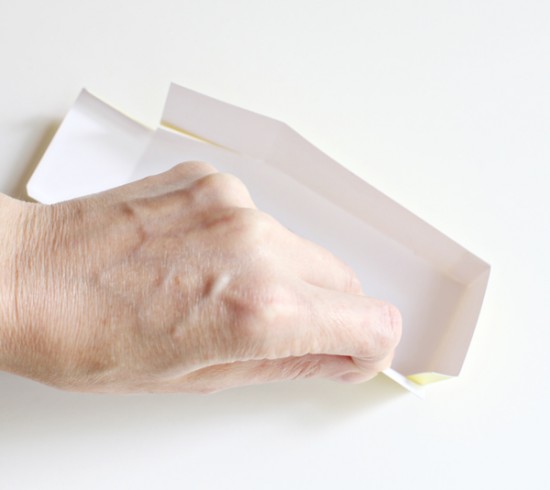
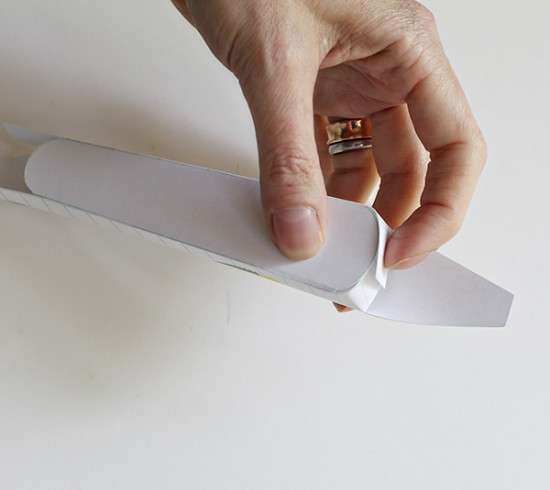
- For the sarcophagus, begin with the top piece. Fold all of the sides and tabs using the score lines as guides.
- Beginning at the foot, glue or tape the tabs to attach the sides to the foot.
- Then glue the shoulder-end of the sides to the base of the sarcophagus.
- Finally, glue the last tabs on the sides to the top side piece.
- Repeat the same steps with the bottom piece.

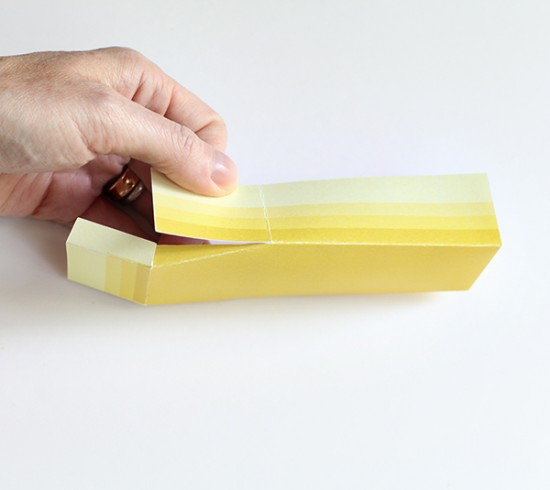
- For the mummy, fold along the sides using the score lines. Beginning with the middle piece, fold and glue or tape the tab in place to make the middle of the mummy.
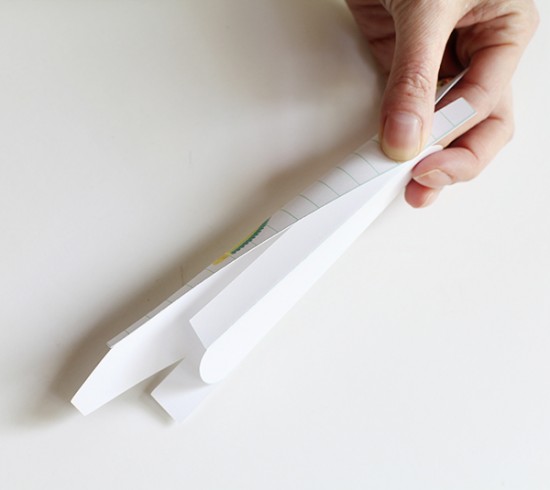
- Then take the top and bottom flaps and bend them over (no need to fold them). Glue or tape the longest tabs in place along the underside of the mummy.
- Now it’s time to tell that mummy lots of important Egyptian-style secrets. It will never tell!
Make this Printable without a Cricut machine:
If you don’t have a Cricut Explore, you can still create this project as a printable – you’ll cut them out with your scissors instead. Follow the steps below. This will let you purchase the file, and Print Then Cut by hand. There are some interior cuts you may want to ignore, but otherwise you’ll be just fine.
- Click the “Customize” button for the project you want to make from Smallful’s Cricut Shop.
- Cricut Print Then Cut projects can only print within a 5.5” x 8” area. You’ll notice the images are laid out and grouped to be printed that way – over multiple pages.
- Select each image and click the “flatten” button in the pop-up menu on the right.
- Hit “Go” and then Sign In or create a Cricut ID and enter your payment info.
- If you aren’t using the Cricut to cut, you will want to remove the bleed by clicking the ‘Bleed (for print then cut)’ box (find this by clicking the blue “more mat options”) under the print copies in the upper LH corner). This will give you a cleaner print.
- From there, click the “Print and Go” button. At this point, your printer menu will pop up and you can print the image. After you hit print, it will ask you to make sure you have connected your Cricut Explore, but you can just ignore this because you’re all finished! Now you have your own printable to cut out and use!