make it: Egyptian Pyramid Playset with Cricut
Welcome to Small for Big! This blog is the other half of Smallful.
Small for Big is full of inspiration, playful design finds, and DIY projects. Read on for instructions to make your Cricut Explore project…
Click here to download the full-page brick pattern background.
Print 5 copies of this brick pattern onto white cardstock, then put them back in your printer (brick print side down) to print then cut the Pyramid within Cricut Design Space.
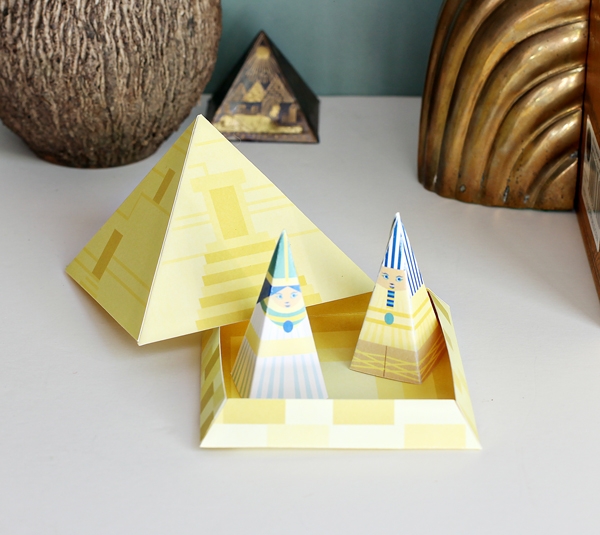
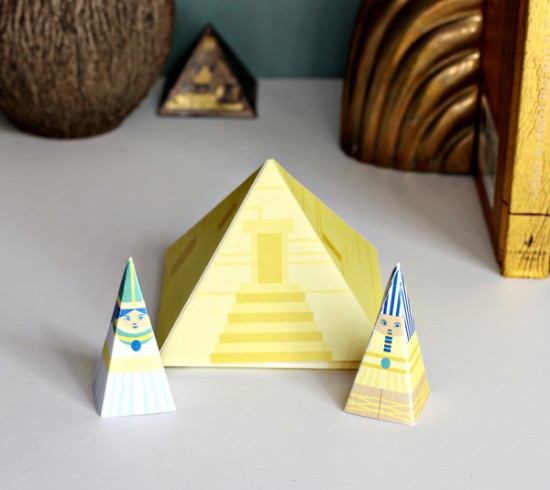
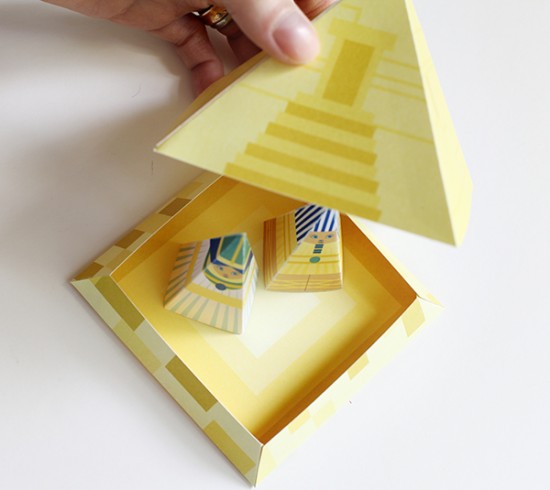
Pretend you’ve travelled back in time to the most luxurious pyramid in all of Egypt. It’s easy to do with a playset like this one: the Pyramid box, and two Egyptians make playtime full of royal mysteries and explorations. Place the Egyptians inside the Pyramid when you’re done playing for quick storage too, I hear it looks great sitting on a bookshelf when not in use.
This Pyramid Playset includes the Pyramid (5 pieces to assemble), and 2 Egyptian Royals (1 piece each). Just glue or tape your pieces and get playing!
This project was designed for the Cricut Explore. But you can make it without the machine too – scroll to the bottom of the post to see how to make this printable without a Cricut machine (and with access to your handy dandy scissors!).
Materials:
- Cricut Explore® machine
- Cricut Design Space™ software
- Cricut® 12” x 12” StandardGrip mat
- Cricut Explore® Scoring Stylus (optional, but useful)
- White cardstock
- Glue stick or double-sided tape
Prep and Cut:
- Before printing the pieces themselves, go to my blog and download the full page bricks pattern to print the backside of your cardstock.
- Print 5 copies of the full-page brick pattern onto your cardstock. Then flip the cardstock over and place it back in your printer. This will create a 2-sided pyramid when you’re done.
- Using the Print Then Cut option in your Cricut Design Space™ software, print the pyramid pieces onto 8.5” x 11” cardstock.
- Then, print the 2 Egyptian Figures
- Follow the steps in Cricut Design Space™ software to cut out the Egyptian Figures.
Assemble:
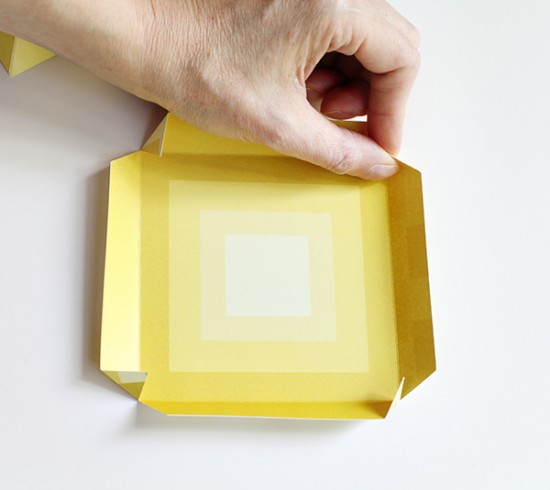
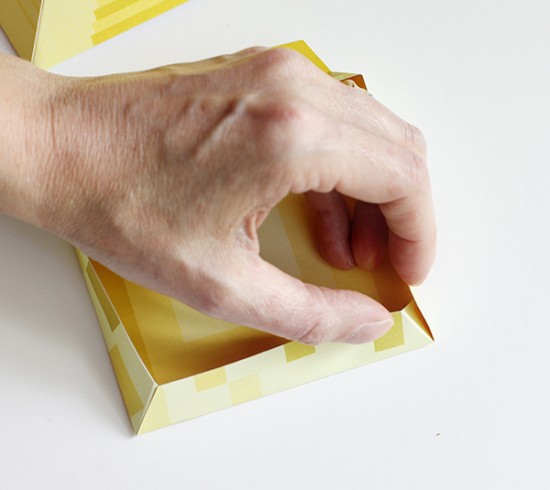
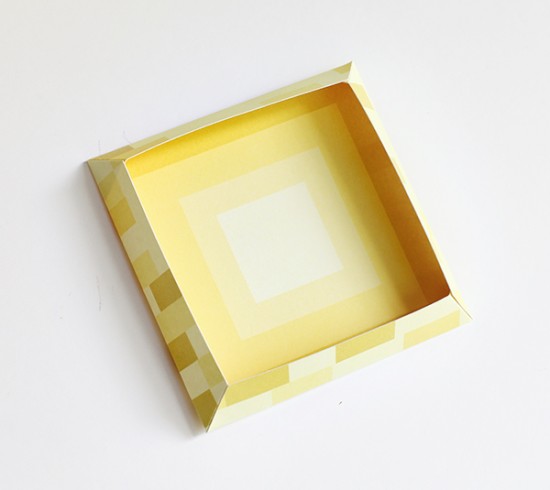
- Let’s start with the Pyramid. Fold all tabs following the score lines. For the base, fold the sides upward, and glue or tape with the tabs.
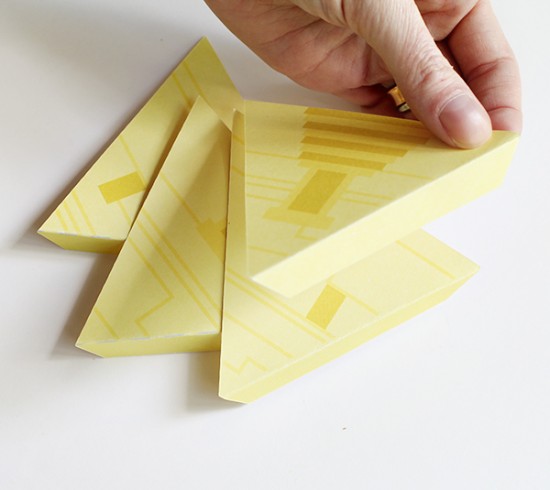
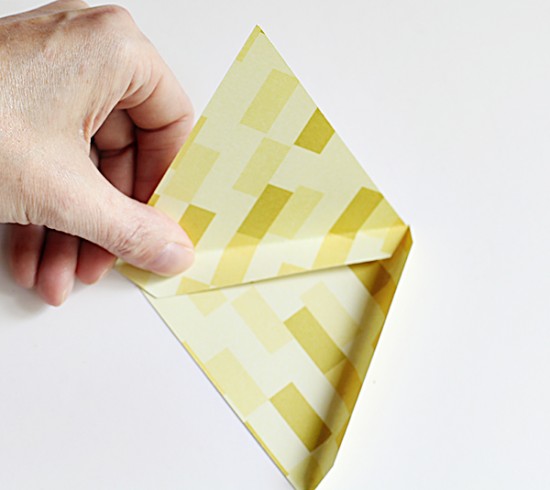
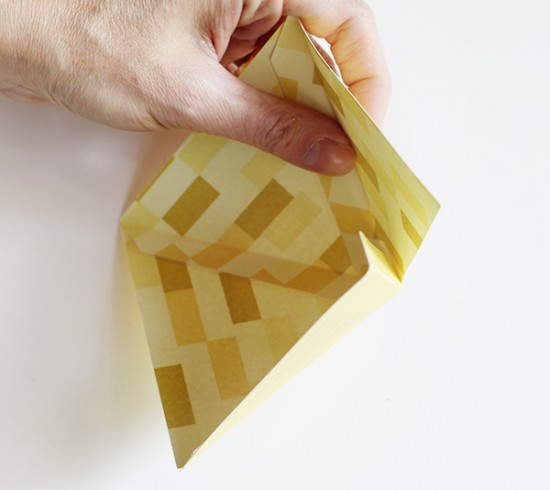
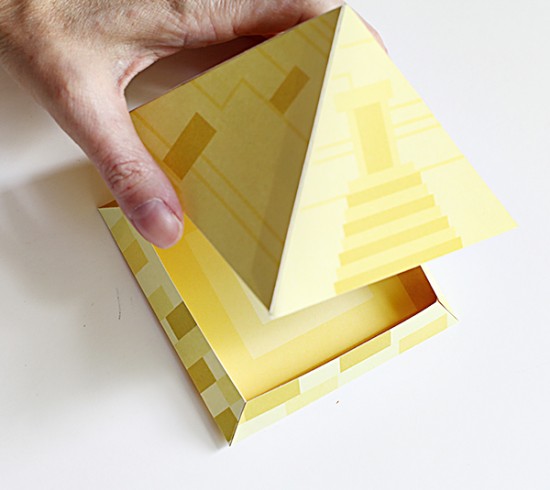
- For the top of the Pyramid, glue or tape each wall to the next using the tabs provided. Now the top of the pyramid should sit on the base.
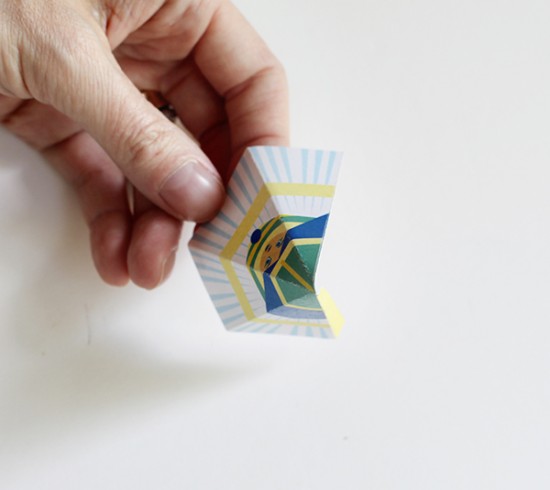
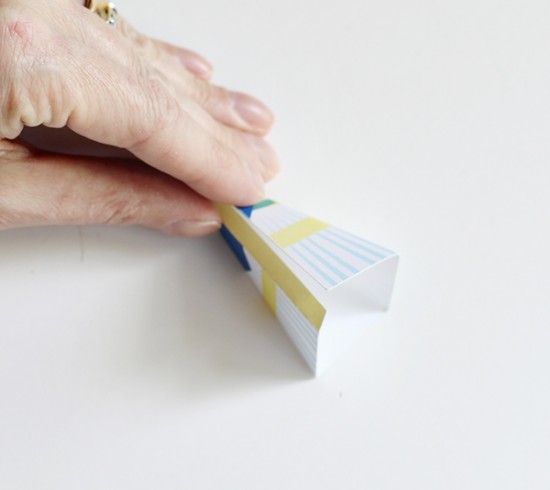
- For each Egyptian Figure, fold the four panels and tab using the score lines provided. Then glue or tape the tabs to create your pyramid-shaped Egyptian.
- Now, it’s time to go hunting for the lost Egyptian treasure!
Make this Printable without a Cricut machine:
If you don’t have a Cricut Explore, you can still create this project as a printable – you’ll cut them out with your scissors instead. Follow the steps below. This will let you purchase the file, and Print Then Cut by hand. There are some interior cuts you may want to ignore, but otherwise you’ll be just fine.
- Click the “Customize” button for the project you want to make from Smallful’s Cricut Shop.
- Cricut Print Then Cut projects can only print within a 5.5” x 8” area. You’ll notice the images are laid out and grouped to be printed that way – over multiple pages.
- Select each image and click the “flatten” button in the pop-up menu on the right.
- Hit “Go” and then Sign In or create a Cricut ID and enter your payment info.
- If you aren’t using the Cricut to cut, you will want to remove the bleed by clicking the ‘Bleed (for print then cut)’ box (find this by clicking the blue “more mat options”) under the print copies in the upper LH corner). This will give you a cleaner print.
- From there, click the “Print and Go” button. At this point, your printer menu will pop up and you can print the image. After you hit print, it will ask you to make sure you have connected your Cricut Explore, but you can just ignore this because you’re all finished! Now you have your own printable to cut out and use!