
A few months ago I bought this really cool Japanese stamp kit. I was a little intimidated by the foam shapes and cardboard pieces inside so I put it aside. Then my 4-yr old niece came to visit (who is adorable with her British accent and is really into naming shapes…I could listen to her saying ‘wobbly line’ all day long). I decided to take the stamp kit down from the shelf and focus. Turns out, assembly was not only easy but also kind of fun! Snapping cardboard pieces together is immensely satisfying…especially well-designed Japanese pieces.
Follow these directions to make your own shapes art:
Supplies:
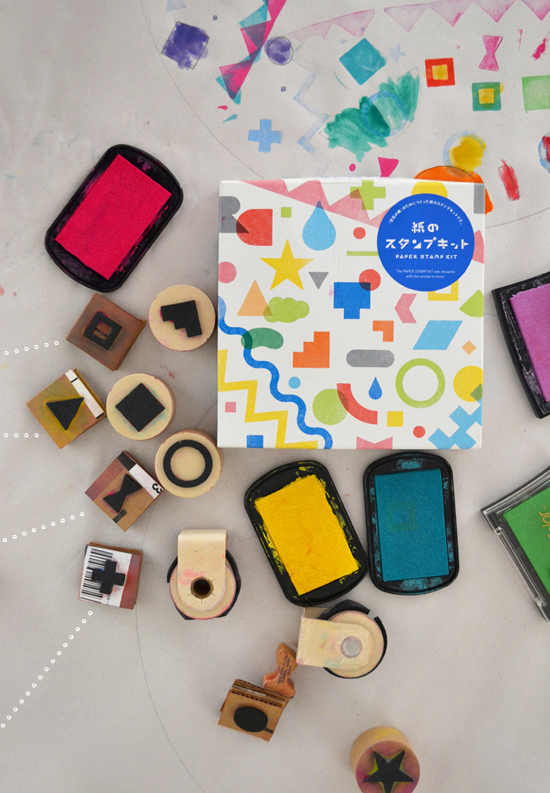
Stamp Kit by Torafu Architects (or DIY stamps, instructions below)
Damp paper towel
Roll of newsprint (or any paper in any size)
Stencils (I like small shapes and big shapes)
Pencil
Watercolor
To make your own shapes stamps:
The kit includes bases for only 4 stamps, but you have a whole sheet of shapes. I guess you are supposed to switch them out when you want new shapes, but I wanted to use all of the shapes at the same time. So we made our own bases. You will need an old cardboard box and some rubber cement. If you want to forgo buying the stamp kit, you can make all of your own stamps with some craft foam shapes.
Simply cut 4 small squares of cardboard (mine were 1.5”) and glue them together with rubber cement. The best way to ensure that the rubber cement will stick forever is like this: Brush glue on both pieces that are going together. Let the glue dry. Then push them together. I swear to you, this is the way that rubber cement was intended to be used.
When you’ve made the base, all you need to do now is stick on your foam shape. The 4 stamps above in the photo with the dotted lines are the ones we made. The key is to make the base only slightly bigger than the stamp.
Making the art:
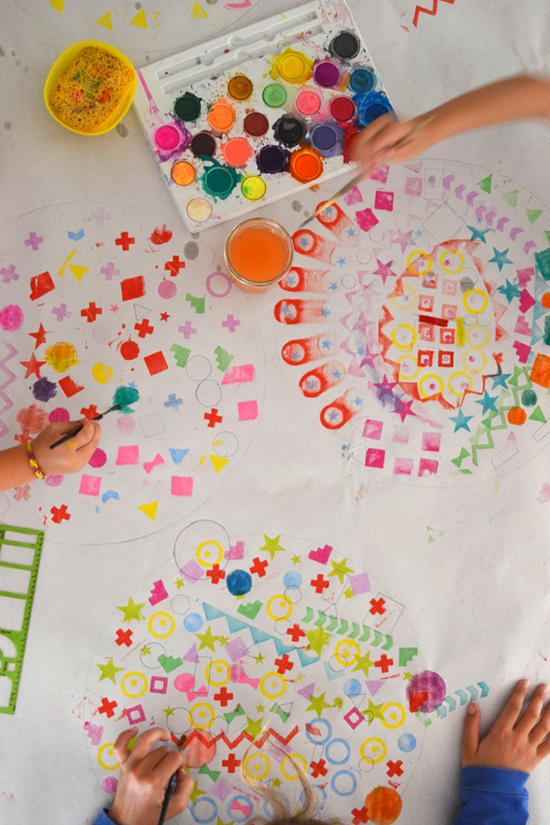
Start by rolling the paper out on the table. If you have sheets, that’s fine, too. Take a large salad bowl or something circular and trace a circle onto the paper. Try and encourage the kids to go off the edge a bit so that when you cut out their circle, it looks like a continuous pattern.
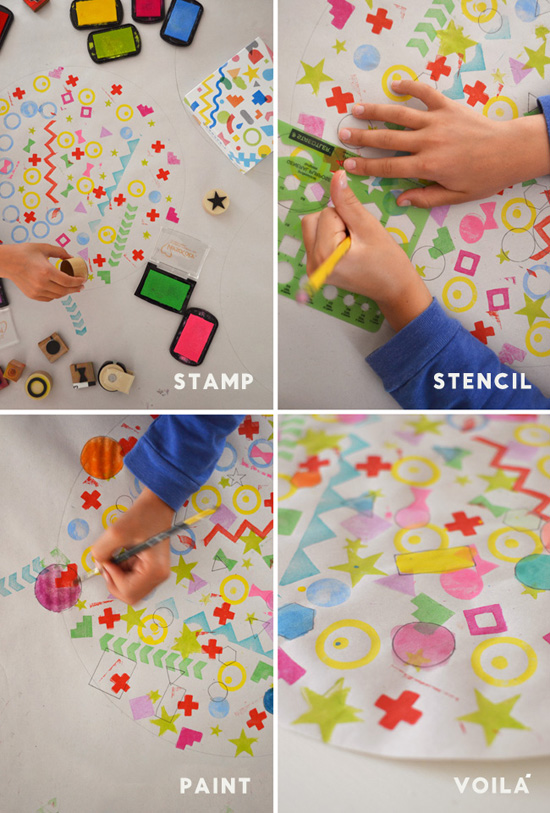
When teaching kids to rubber stamp, you must tell them to gently press on the inkpad a few times with their stamp. Then gently and cautiously press onto the paper. Do not twist the stamps on the paper, and re-ink for each press. When they are finished with that stamp, I had them take a damp paper towel and wipe off the excess color. (Actually, I ended up doing this for them so that they could work a little faster…but the little ones in particular really loved cleaning their own stamps.)
When they are finished stamping, it’s time to take out the stencils and trace some shapes. I encouraged them to overlap other shapes. We talked about mixed media art (my favorite kind of art), and also the possibility of overlapping colors creating a new color.
Lastly, I took out the watercolors and they painted in their stencil shapes. When the paint dried, I cut out their circle. They came down from playing and saw their big circles cut out and taped to the wall and they were so proud! I wish I had a photo of their smiles.
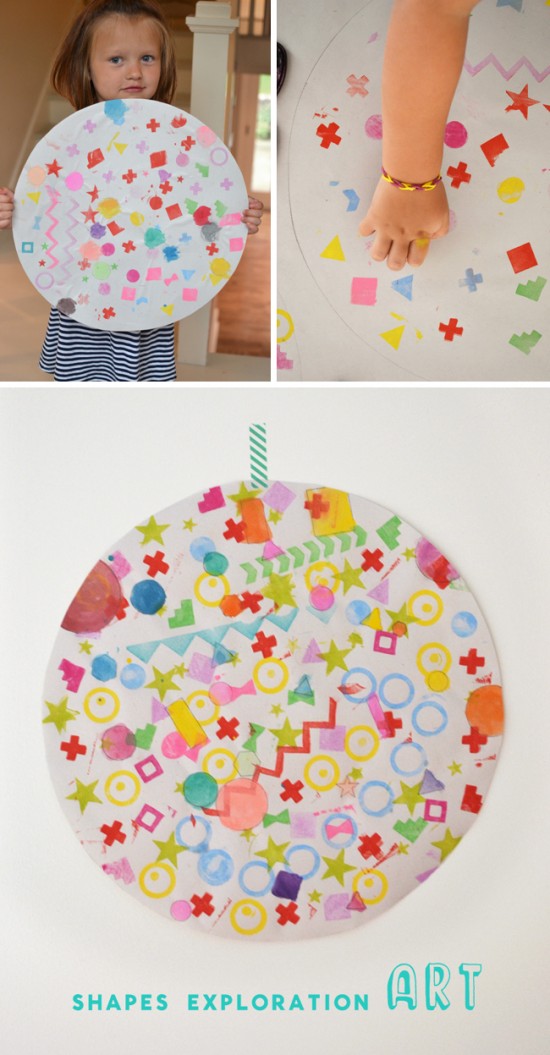
I glued my niece’s circles to poster board since they were traveling. But I like the ethereal quality of the newsprint taped to the wall. It sort of blows in the wind and let’s you know that it won’t be around forever, so enjoy it while it lasts.
Stamping + watercolor is a great combination for making art. If you ever need an idea for a group of kids, this is it!
xo Bar


{ 0 comments… add one now }